Looking after a new resin driveway: the first two years
5 min read Resin Revive
Most of what determines how a resin drive looks at year eight happens in the first two. Almost none of it is expensive, and one common habit does real damage.
A new resin drive needs very little. The trouble is that "very little" is not the same as "nothing", and the habits formed in the first couple of years tend to decide how it looks a decade later.
The first month
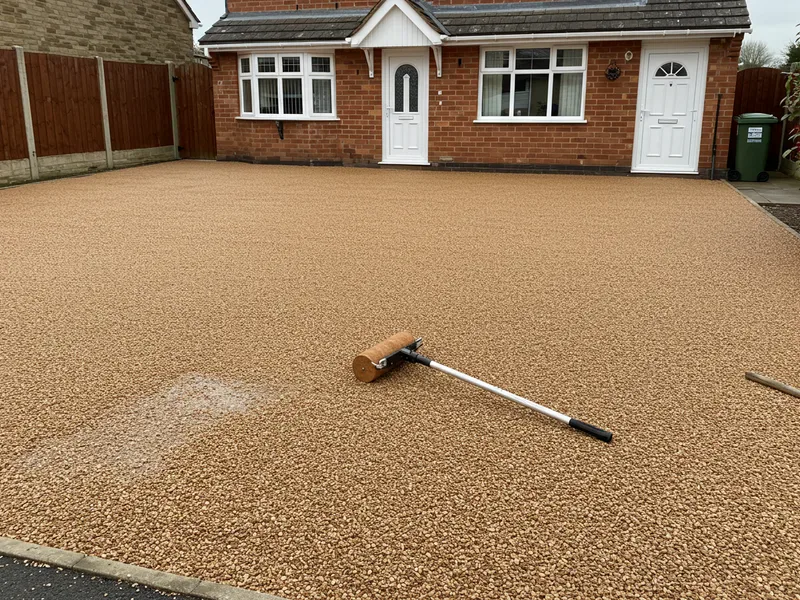
Resin cures over the days after laying. Follow whatever the installer said about staying off it — typically foot traffic within a day and vehicles after a few days, longer in cold weather. Rushing this is one of the few ways to damage a brand new surface.
Expect to sweep up a small amount of loose stone. Some aggregate at the very surface was never fully encapsulated, and traffic frees it. This is normal, it is finite, and it stops.
What is normal in year one
- A little loose stone, reducing steadily.
- Slight colour settling as the surface weathers to its final tone.
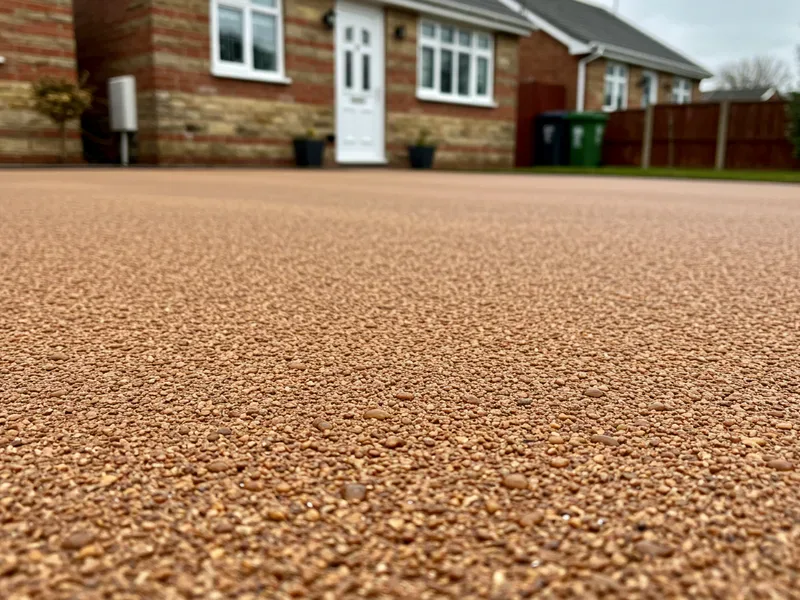
- Water draining straight through on a bound surface — that is the permeability working.
What is not normal
- Stone loss that increases rather than tapering off.
- Puddles on a permeable surface — that points to a laying or base issue and is worth raising with the installer while it is still their problem.
- A hollow sound when you tap an area, which means the surface has separated from the base.
- Yellowing within a couple of years, which suggests a non-UV-stable resin.
Any of these are worth raising early. Installation defects are far easier to argue while the drive is new.
The habits that actually matter
Clear leaves in autumn
The single most useful thing you can do. Leaves left to rot become organic matter in the surface texture, and that is what algae feeds on. Ten minutes with a stiff brush in November saves a professional clean later.
Brush it occasionally
It stops fine silt building up in the open texture, which is what eventually slows the drainage.
Cut back what overhangs it
Light and airflow dry a surface. A drive under a hedge stays damp and greens over; the same drive with the hedge trimmed back does not.
Deal with spills promptly
Oil and fuel are the ones that matter. Absorb rather than wash in.
The one habit to avoid
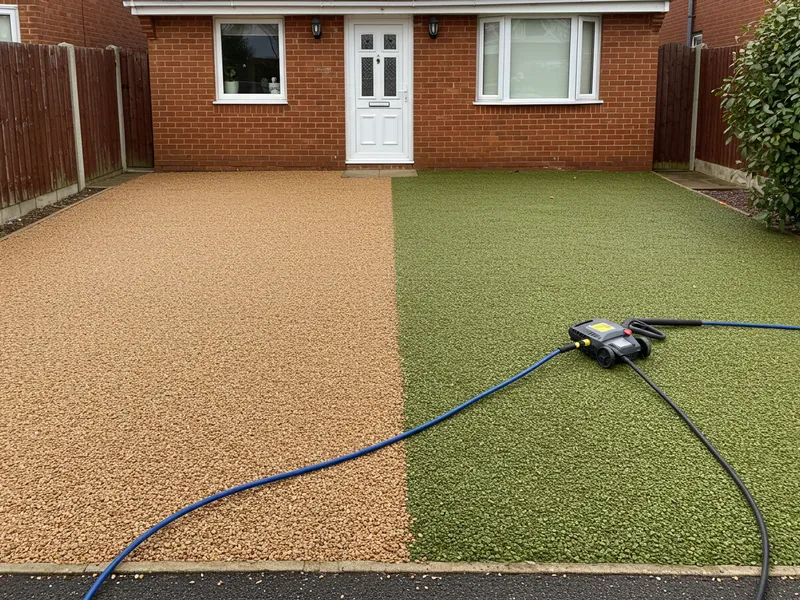
Do not attack it with a pressure washer, and especially not with a turbo or pencil nozzle. It is the most common cause of damage we are called out to repair, and it is entirely self-inflicted. A narrow high-pressure jet strips resin from around the aggregate, and the stone that comes loose afterwards never goes back.
If it needs more than brushing, it needs a flat surface cleaner at controlled pressure and a biocide treatment — which is a job rather than a Saturday afternoon.
When the first professional clean is due
For most drives, somewhere between years three and five, sooner if it is shaded or under trees. The first clean and treatment is the point at which you decide whether the surface stays looking new or starts the slow slide. Kept on top of, a resin drive holds its appearance for a very long time.
Common questions
- How long before I can park on a new resin driveway?
- Typically a few days, longer in cold weather. Follow the installer's guidance — driving on it too early is one of the few ways to damage a new surface.
- Is losing stones from a new resin drive normal?
- A small amount in the first few months is normal and should taper off. Loss that increases over time points to a binder problem.
- Can I jet wash my new resin driveway myself?
- Brushing is fine and useful. Pressure washing risks stripping resin from around the aggregate, particularly with a turbo nozzle, and is the most common cause of damage we repair.